CONTACT US
Noti Sp. z o.o.
ul. Sowia 19
62-080 Tarnowo Podgórne
+48 61 89 66 480
biuro@noti.pl
marketing@noti.pl
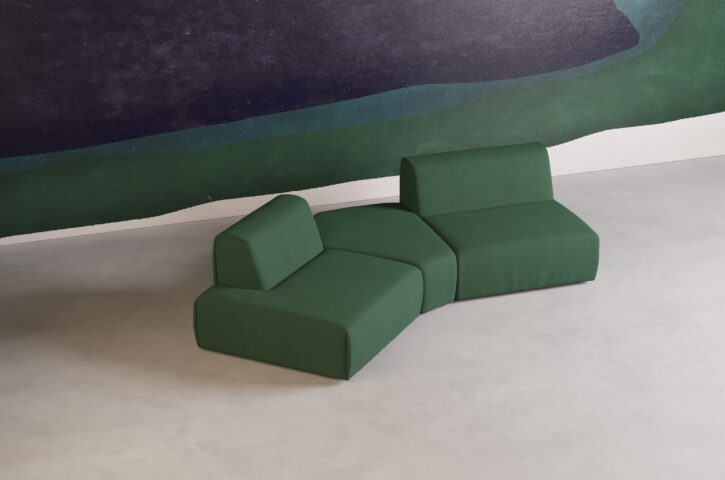
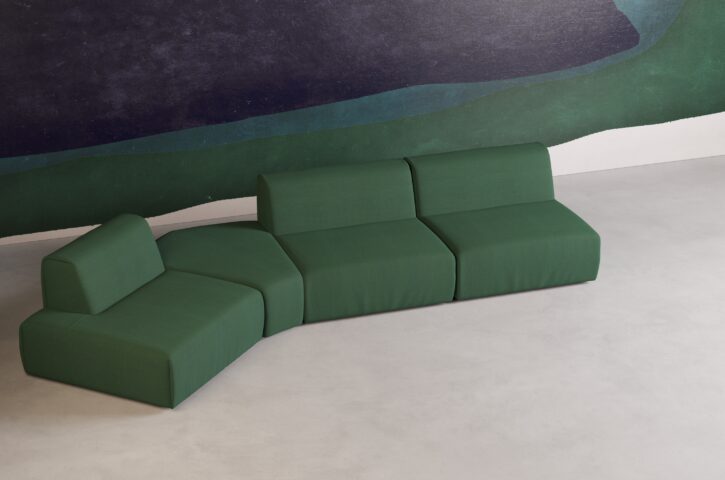
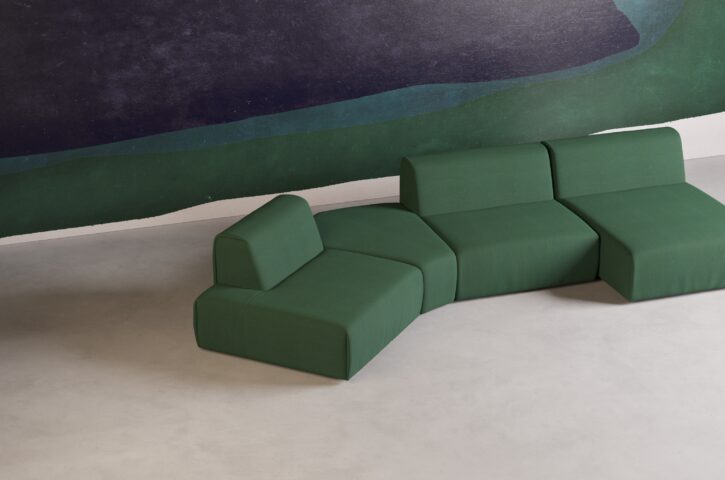
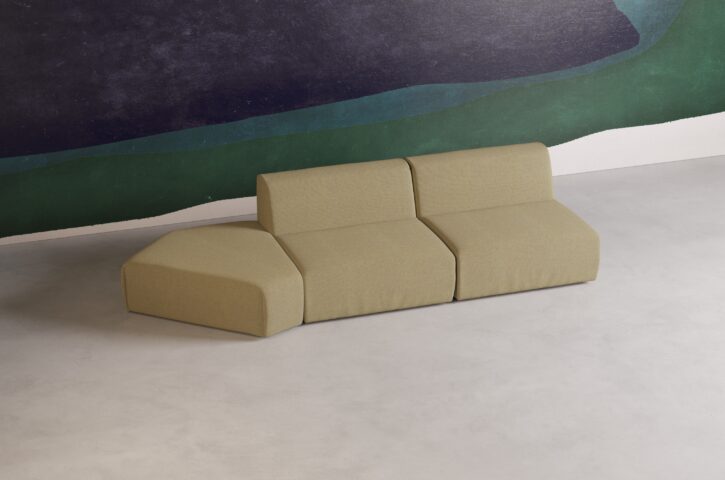
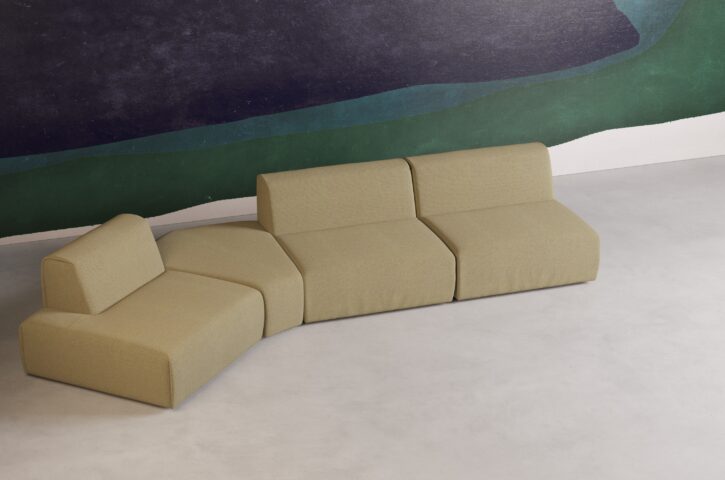
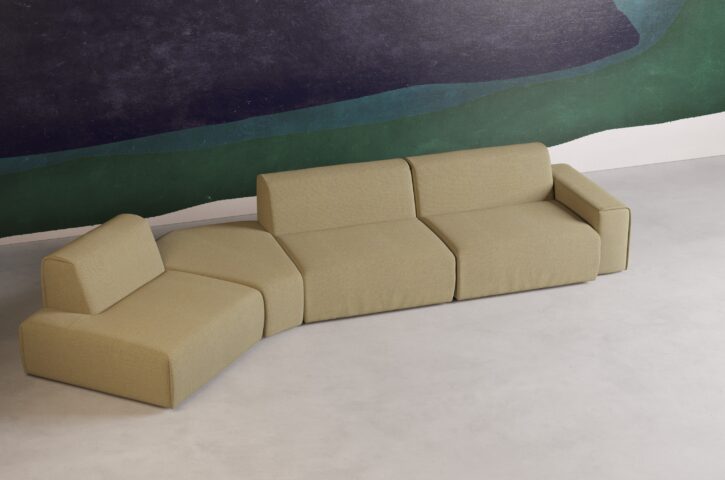
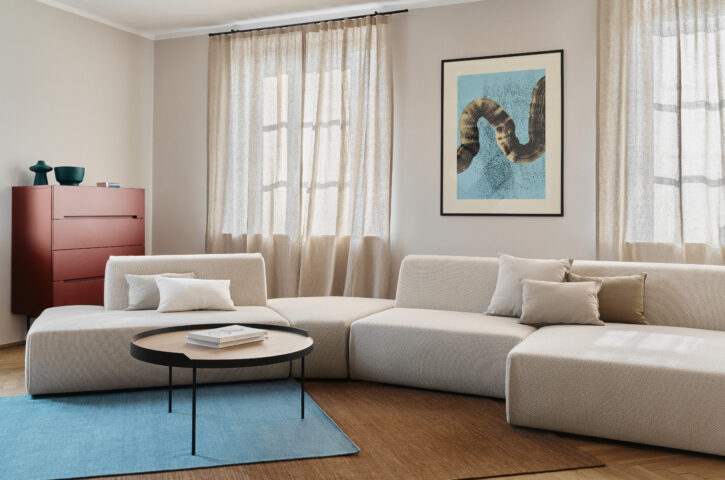
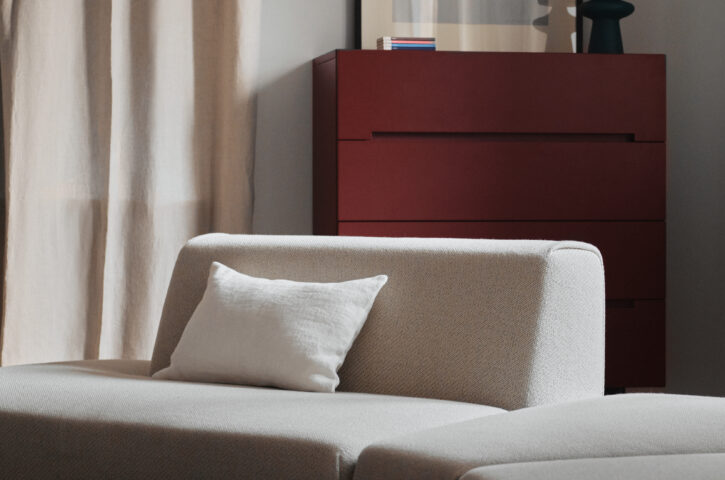
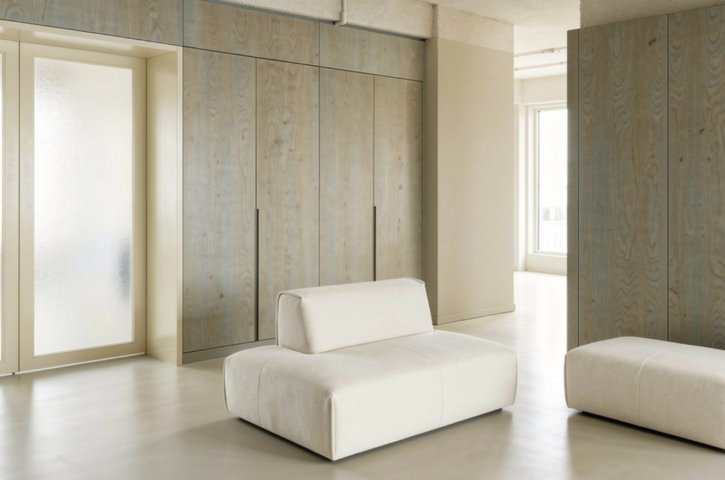
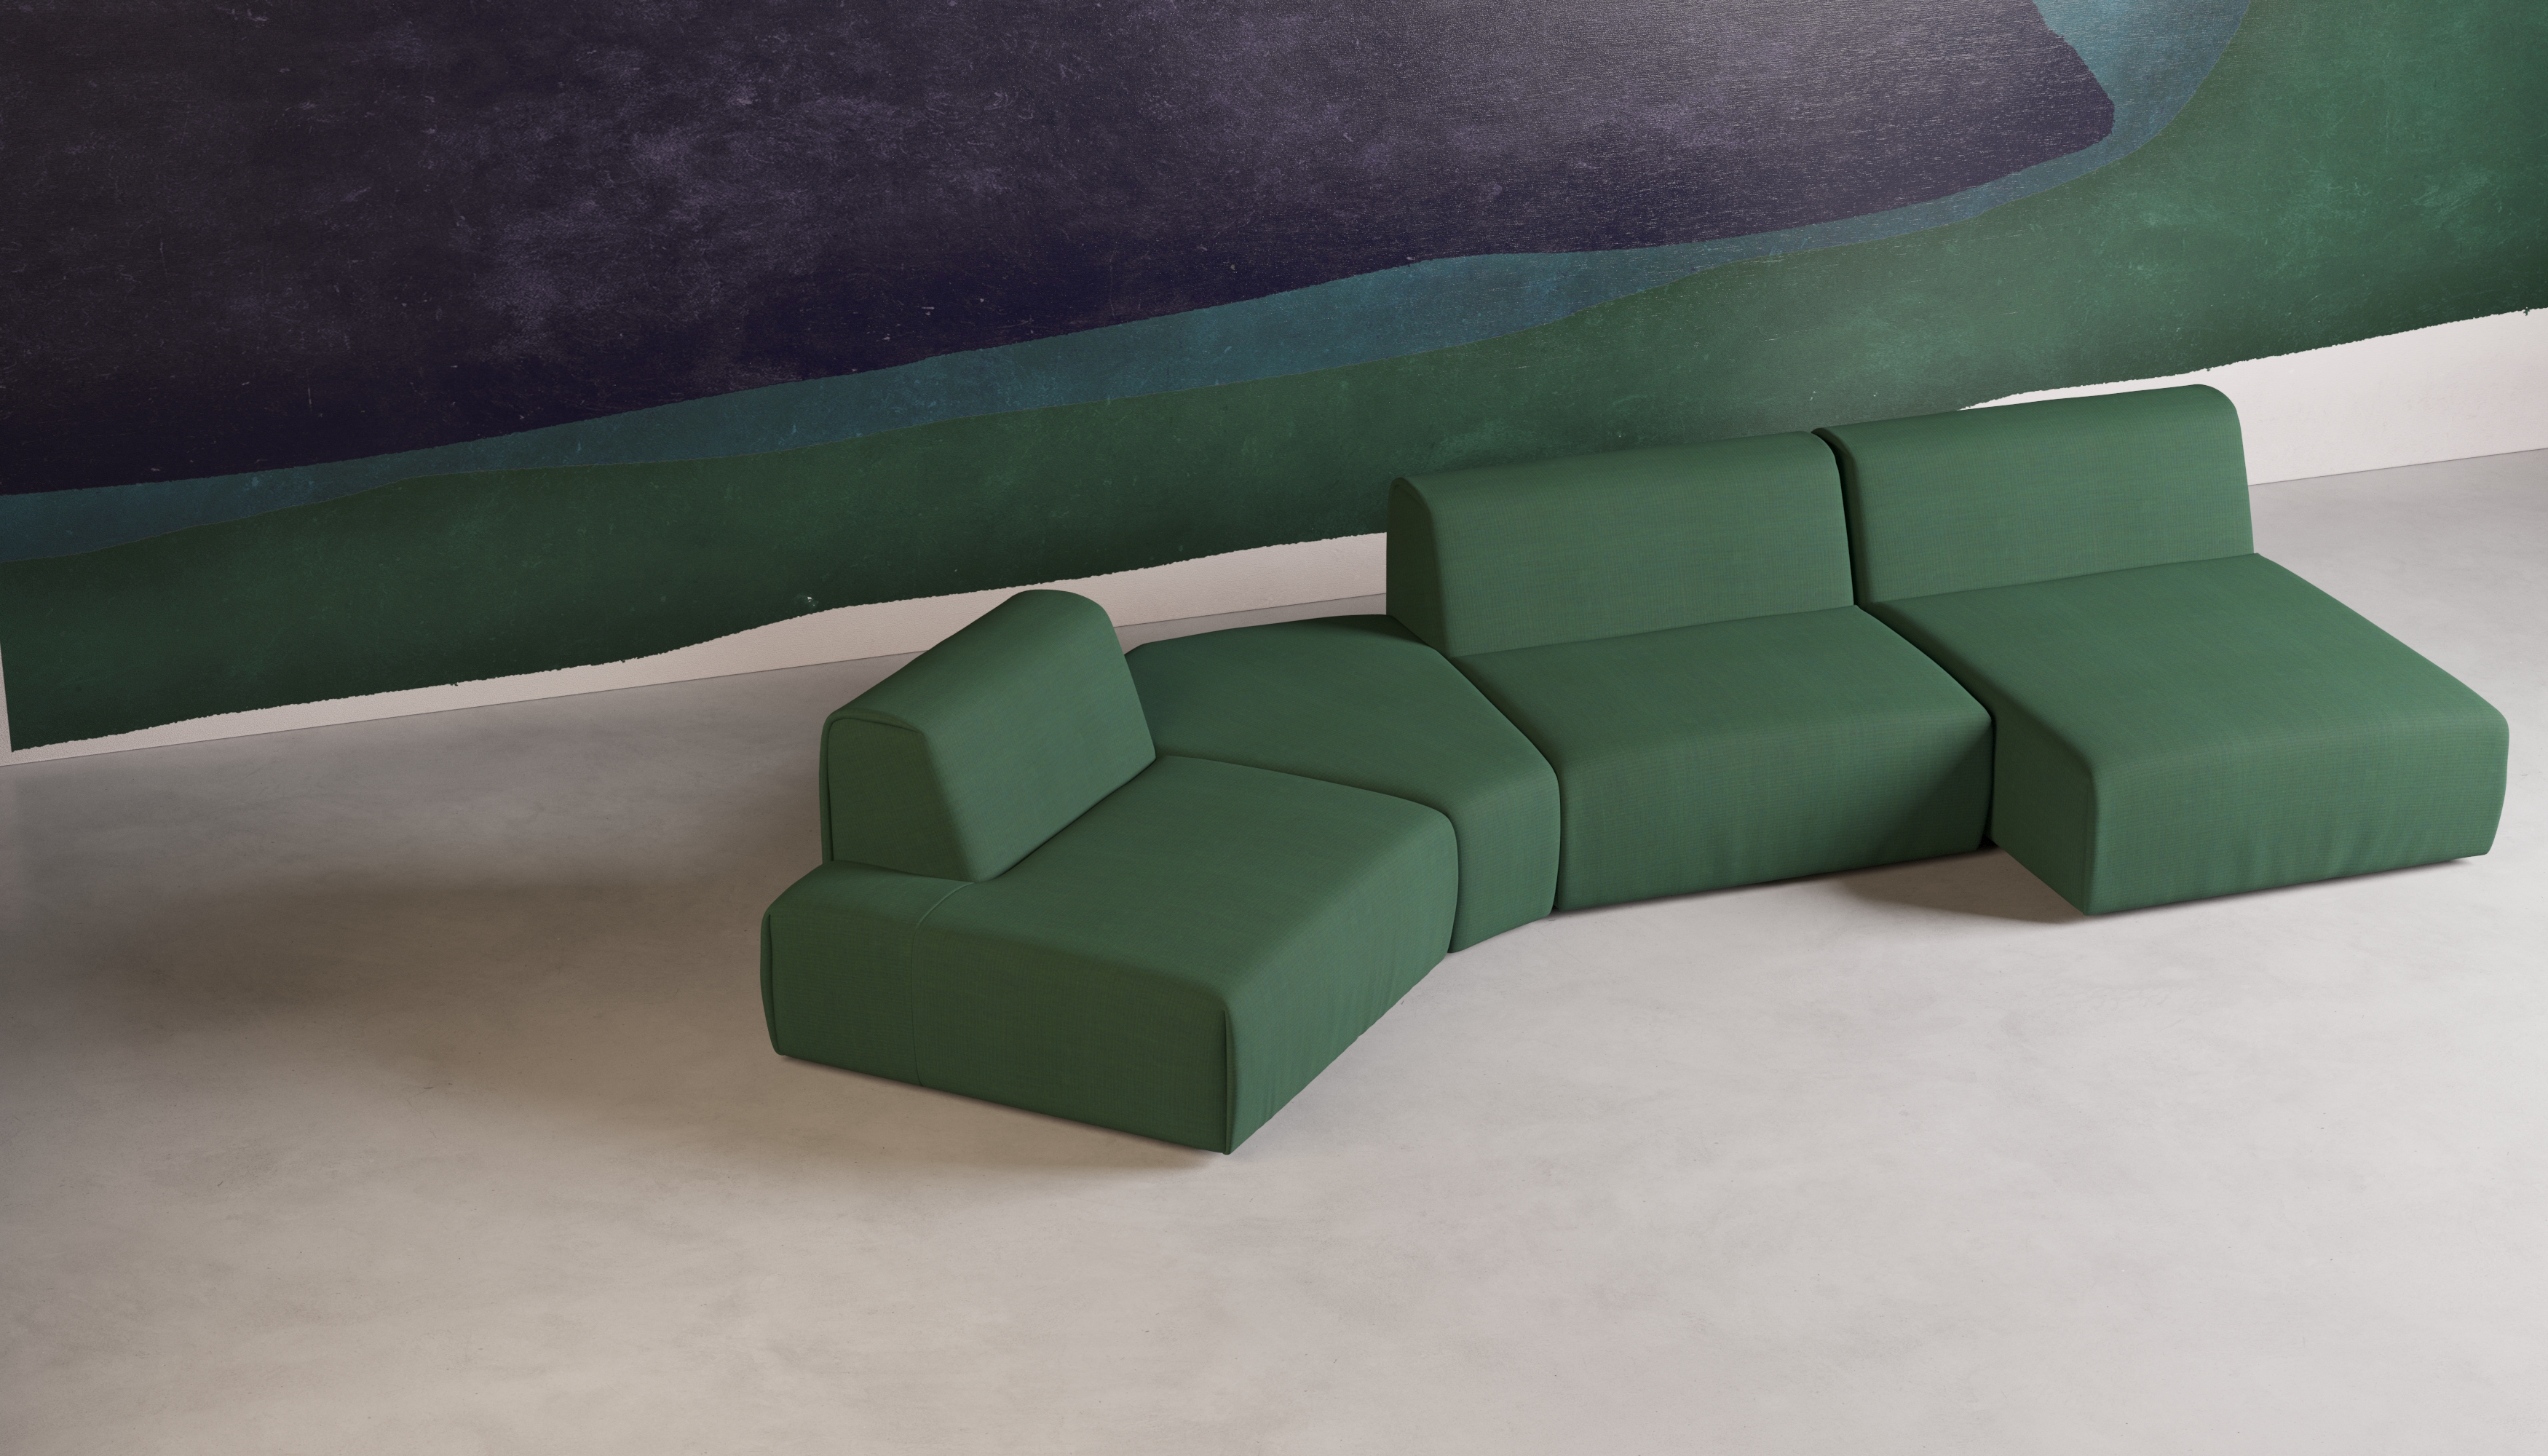
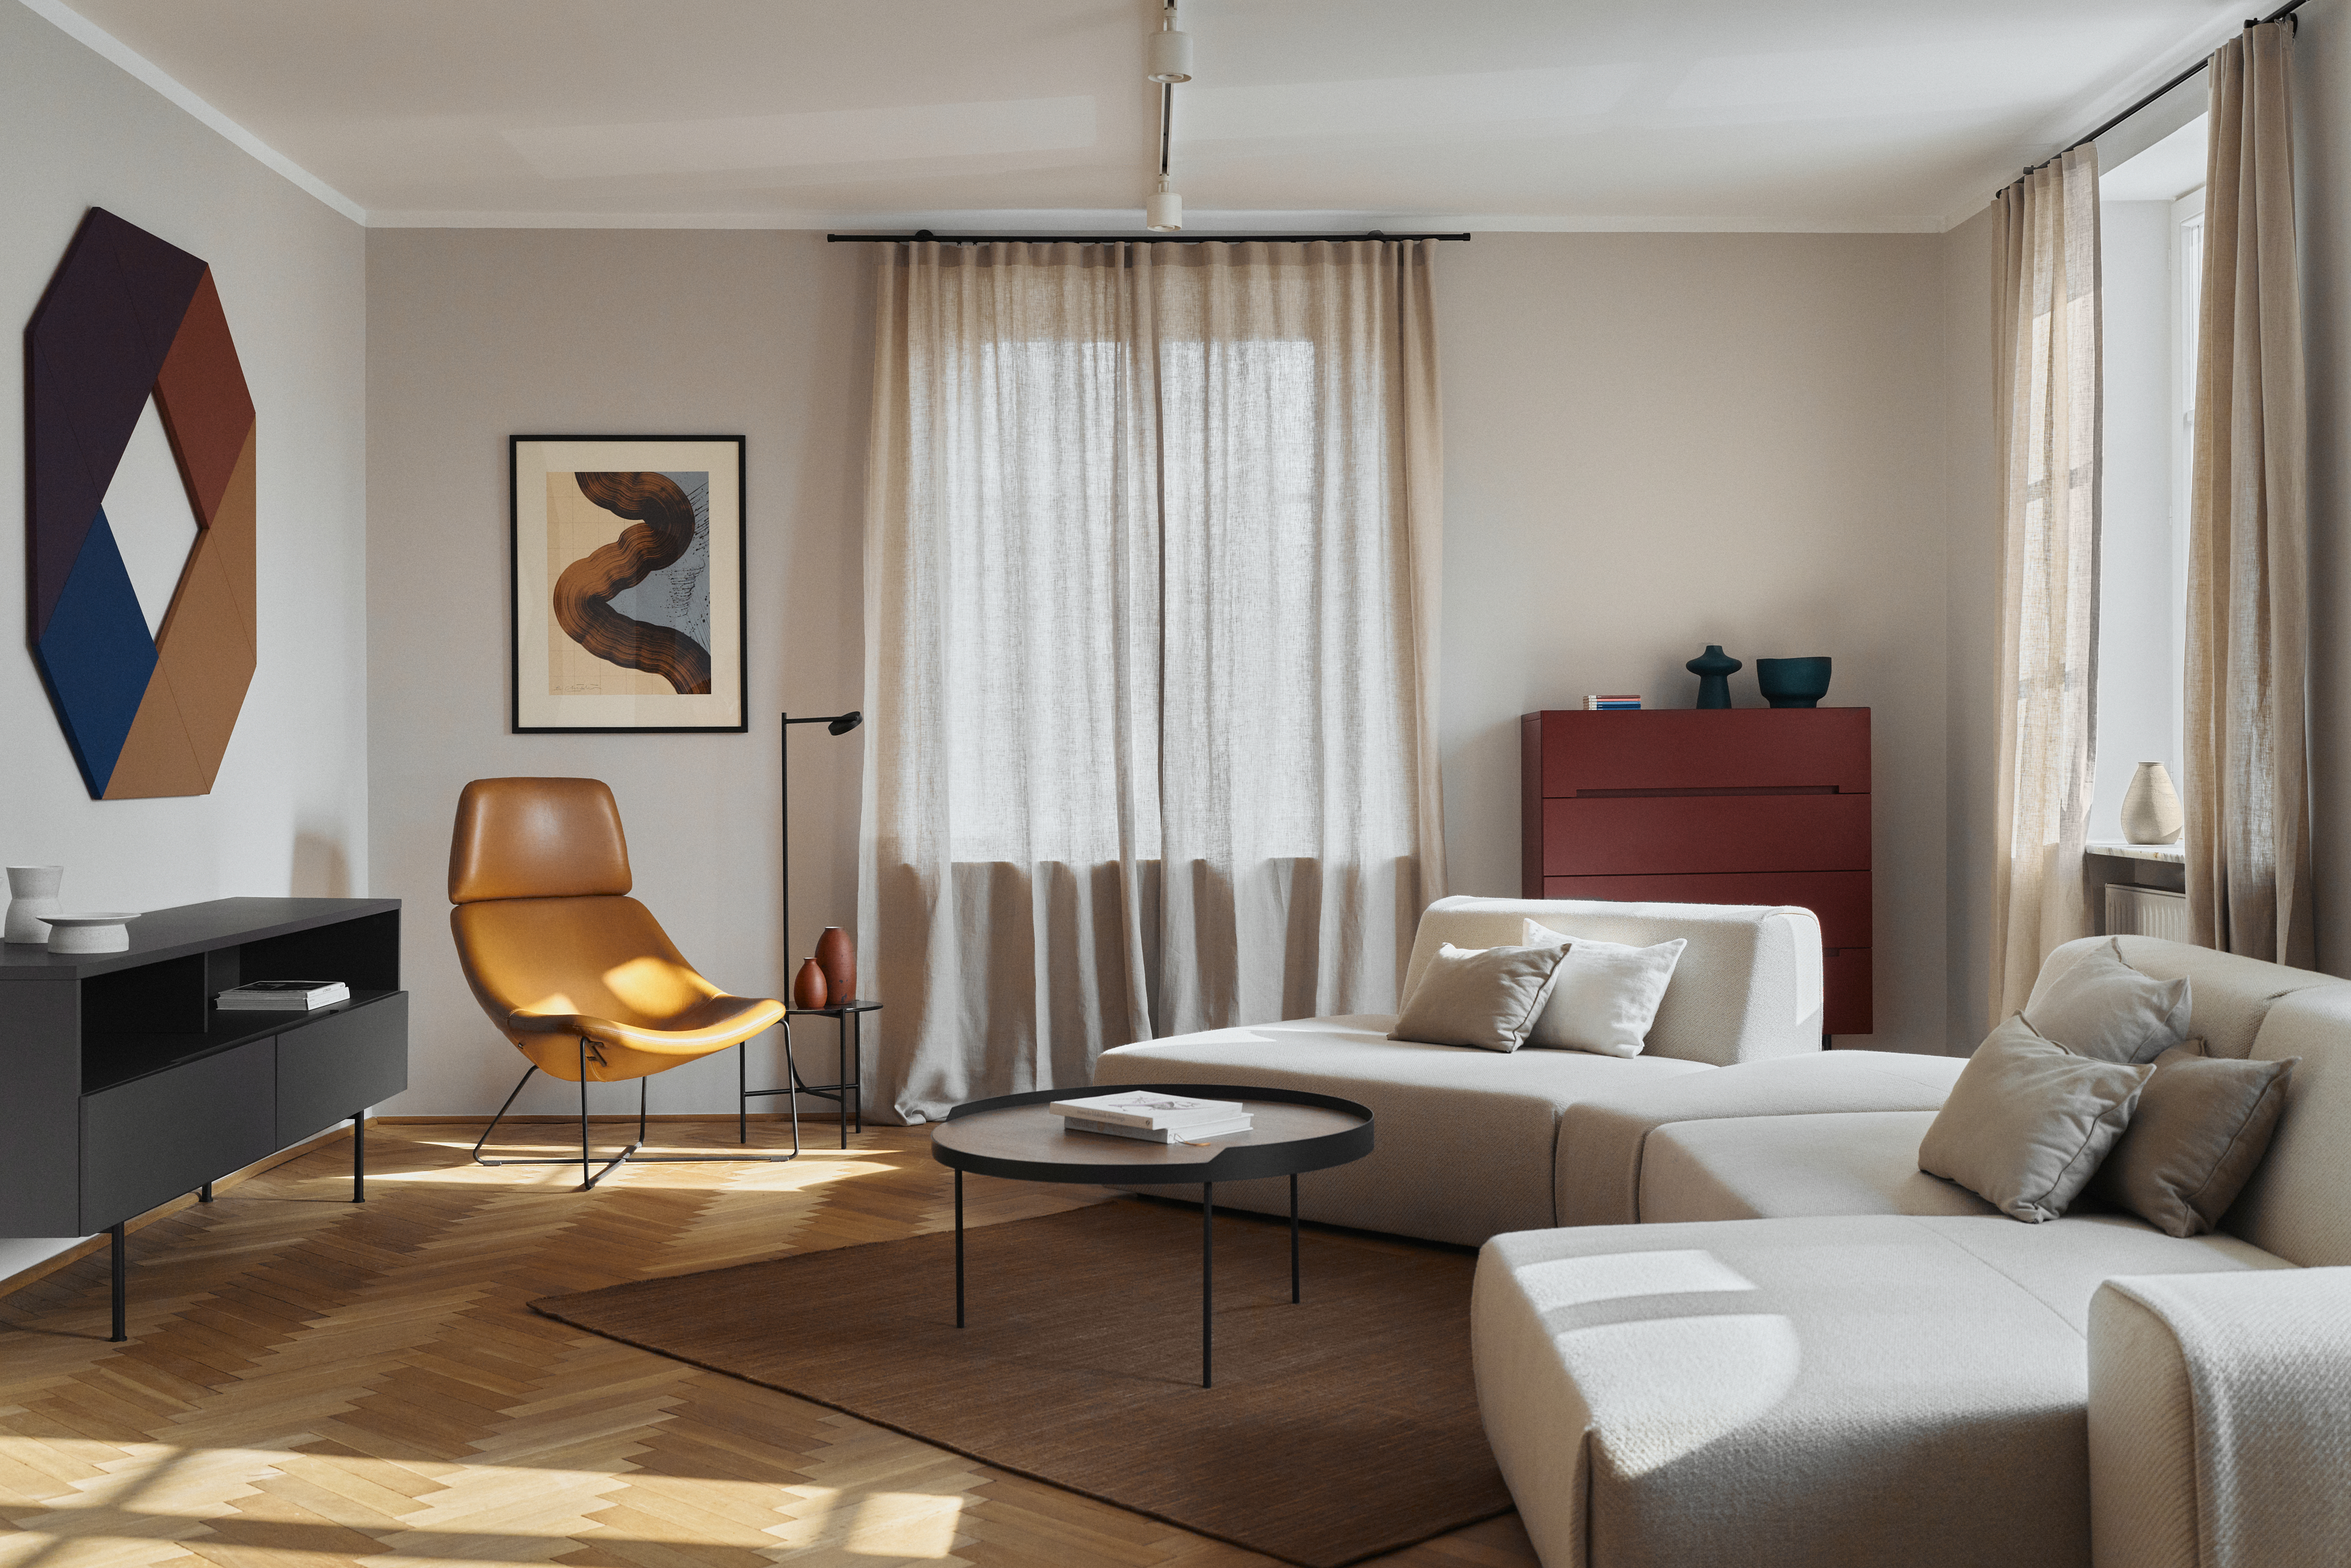
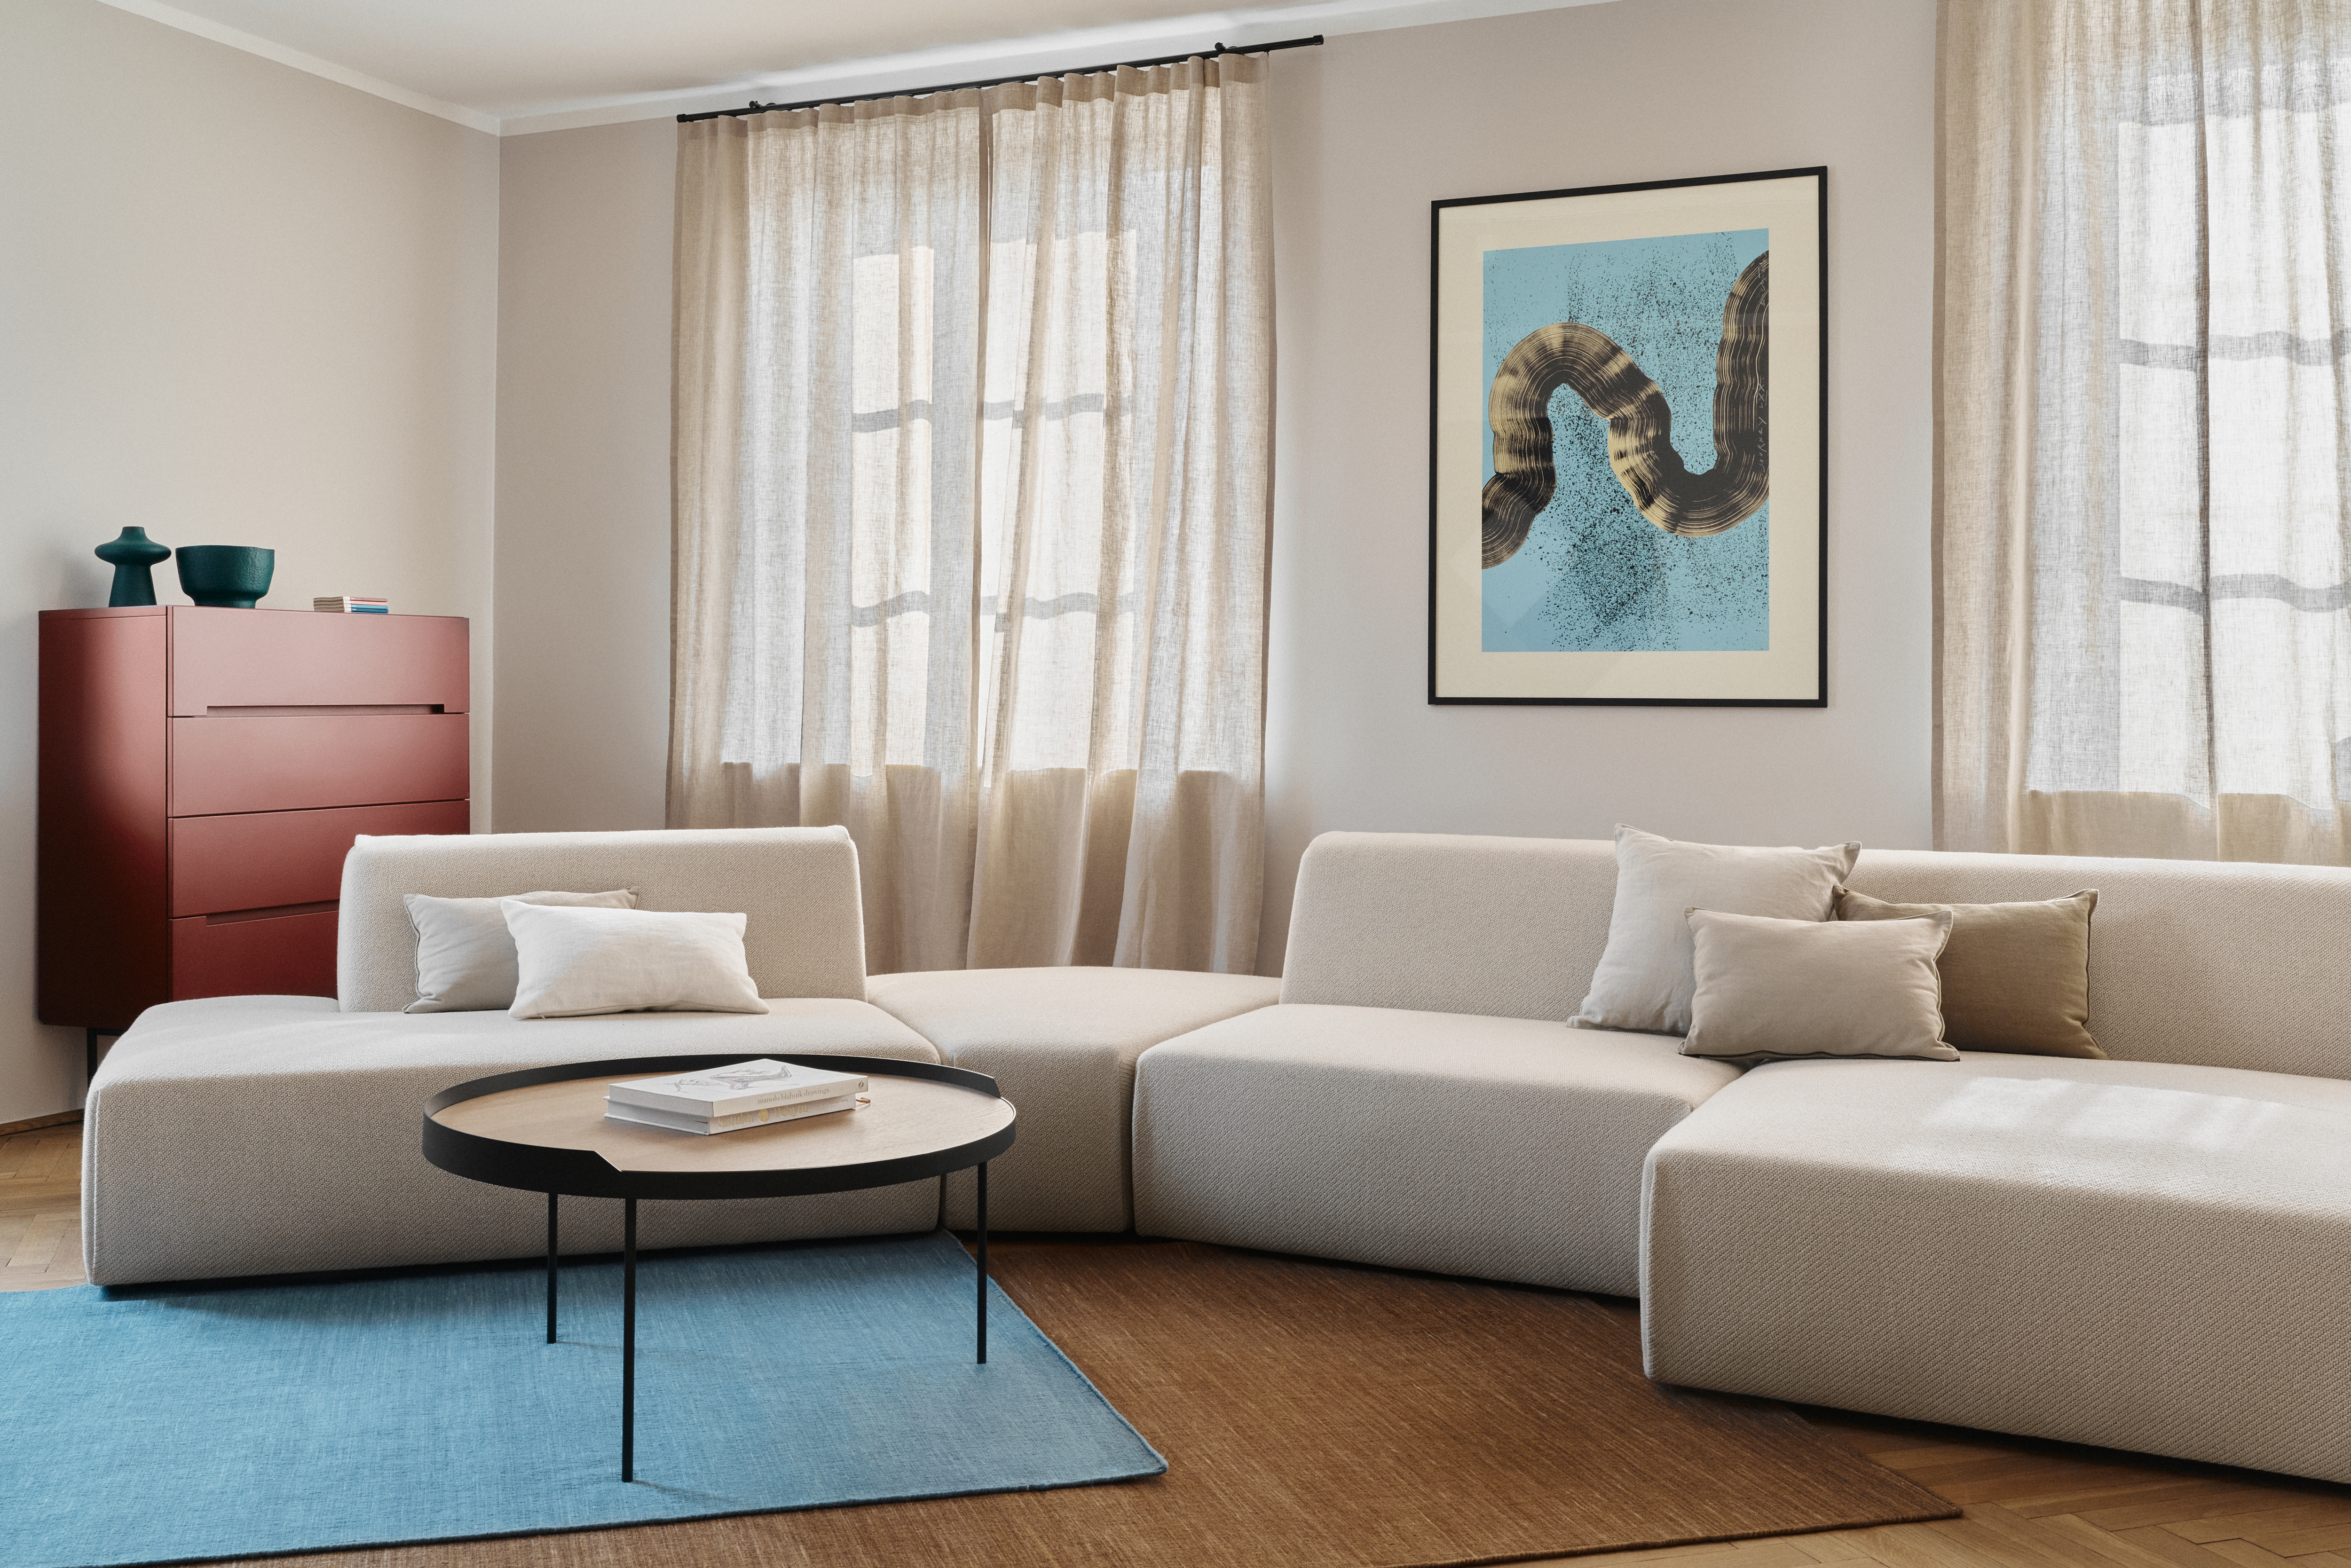
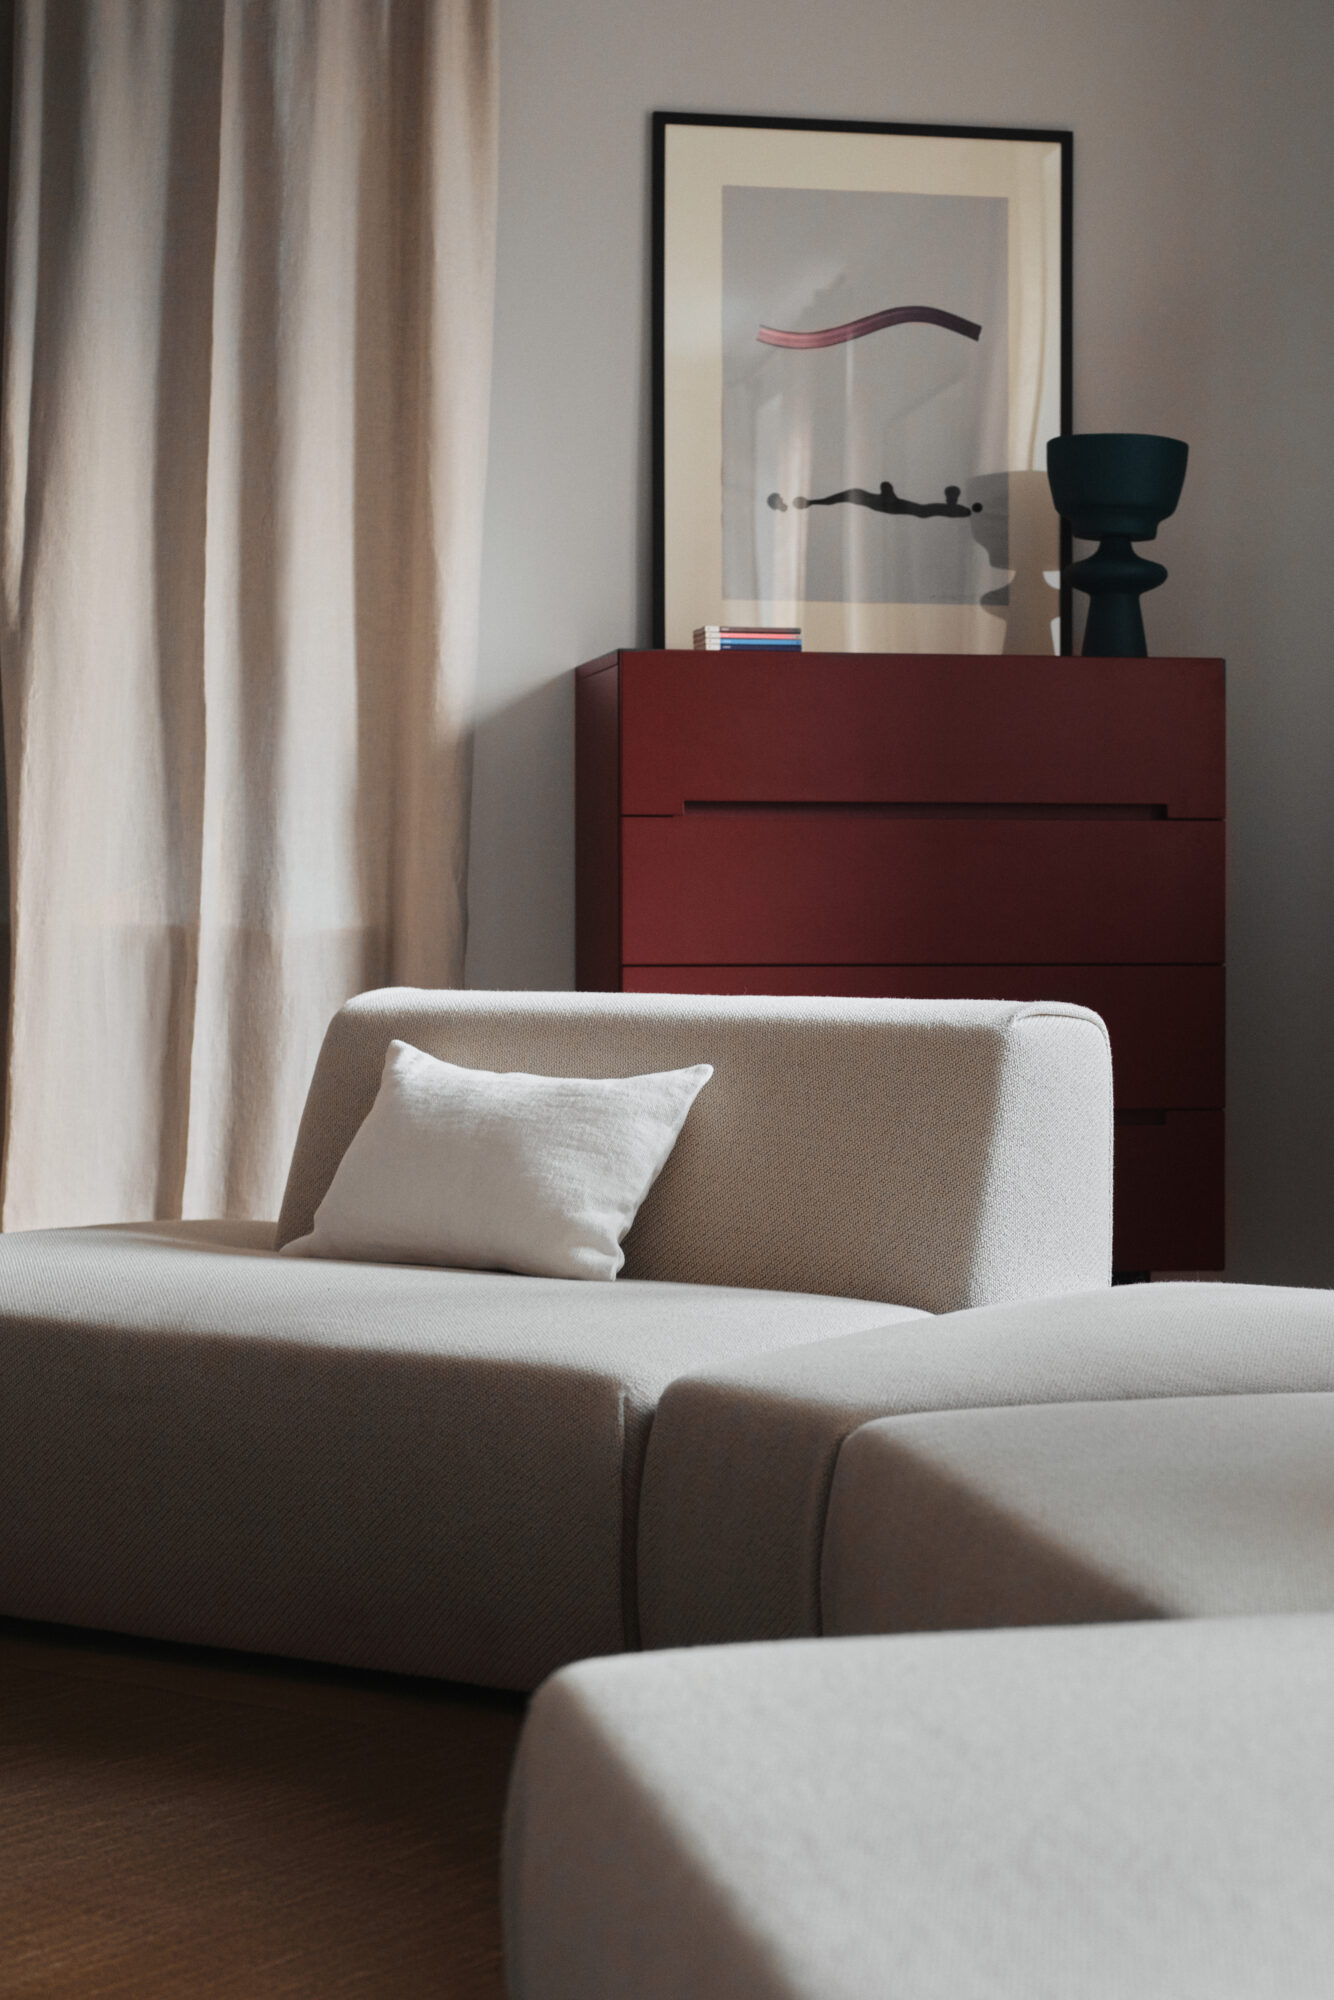
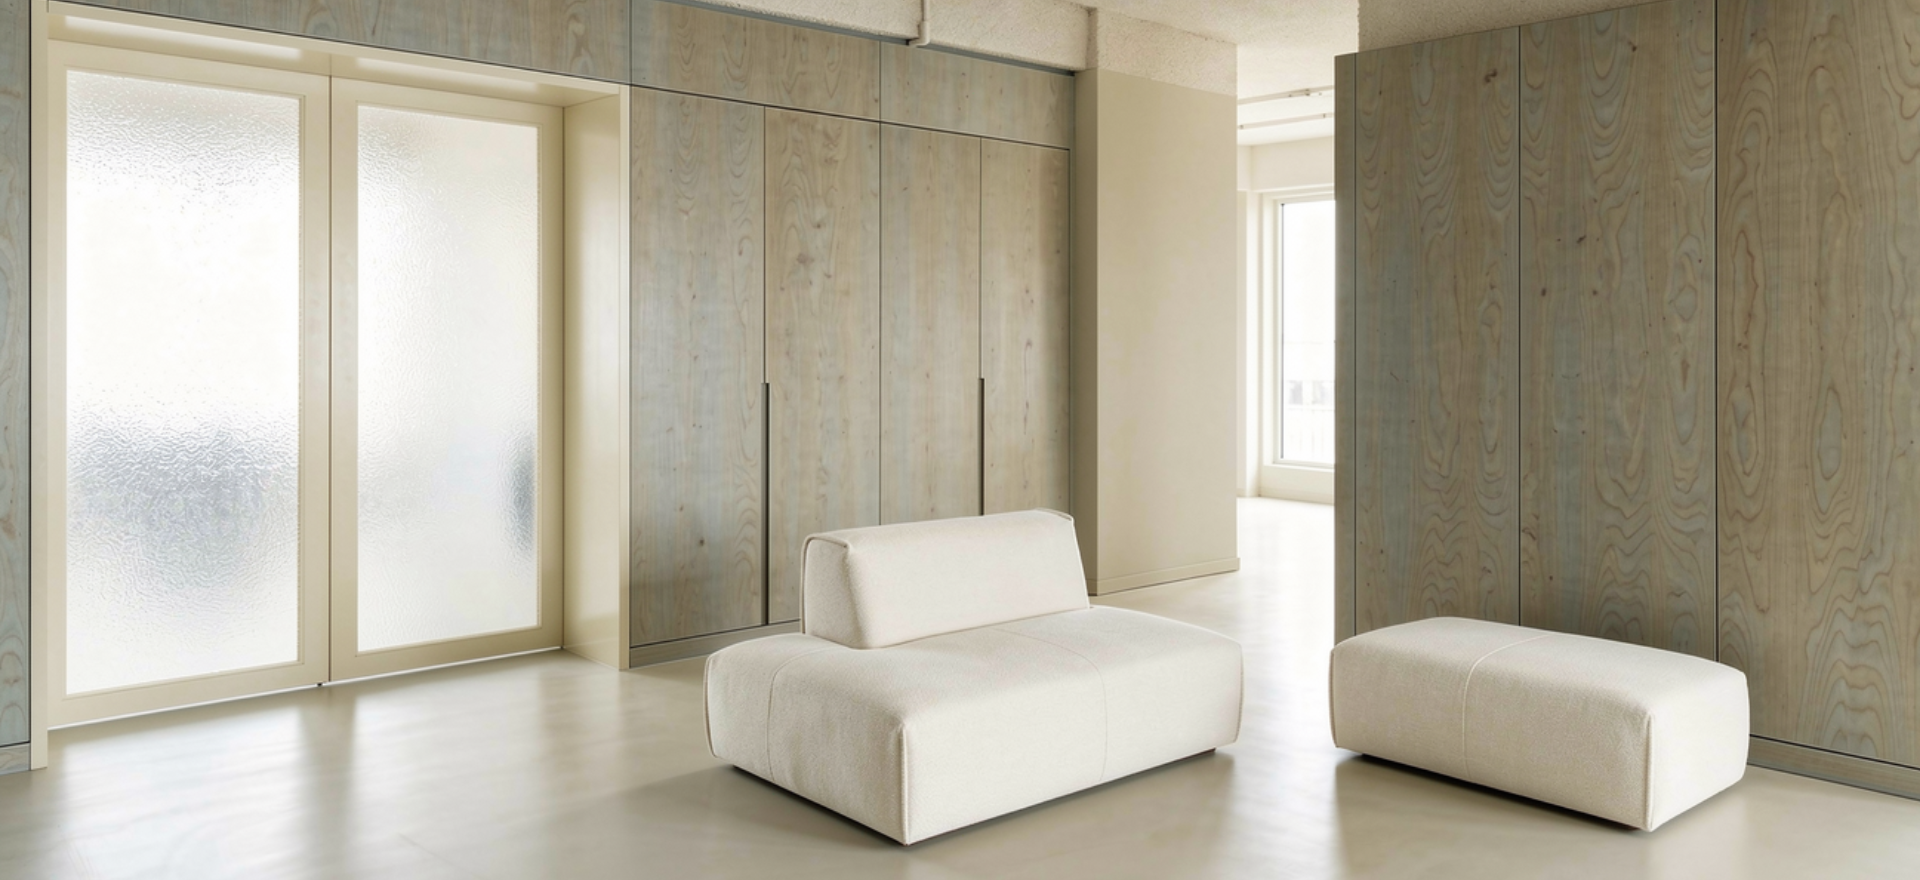
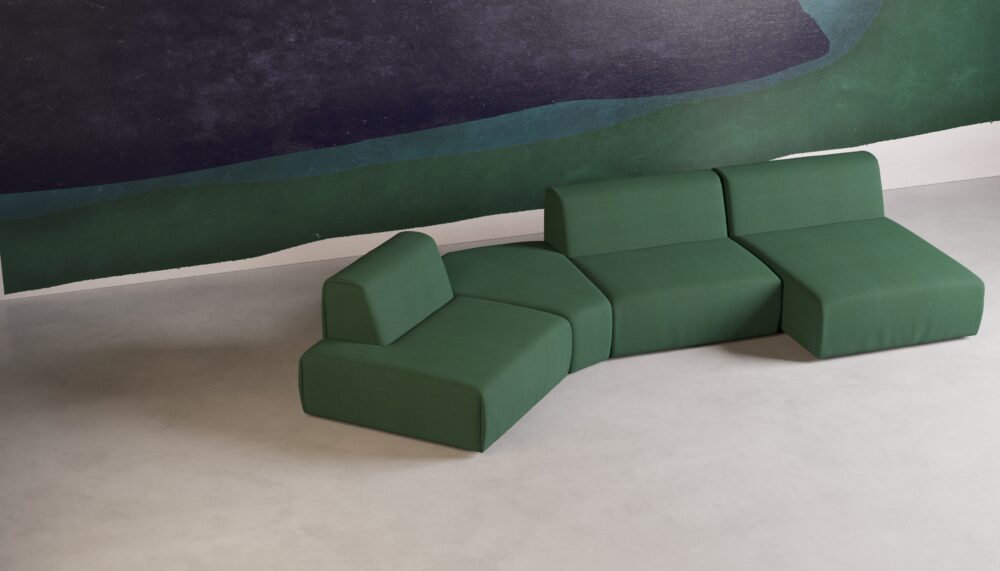
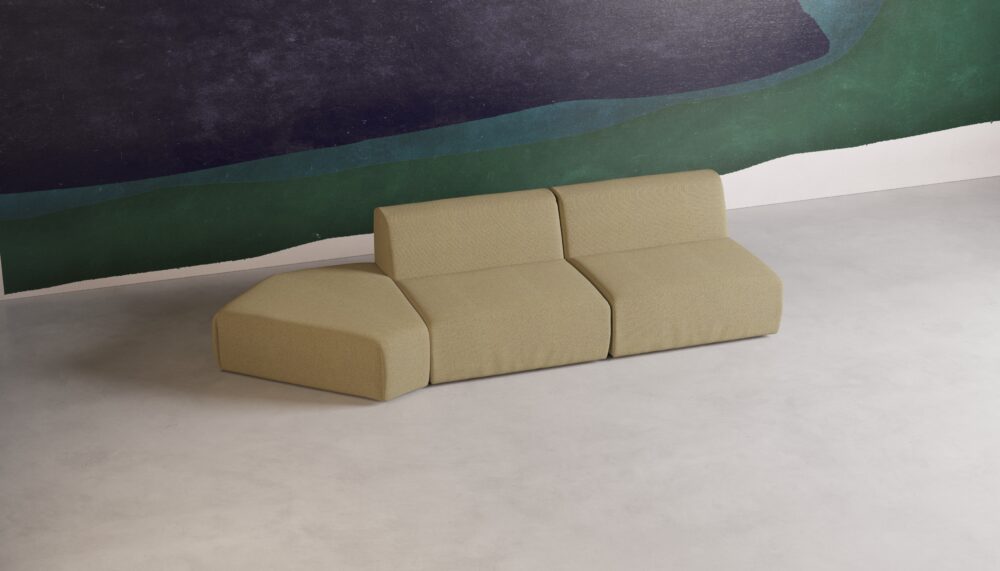
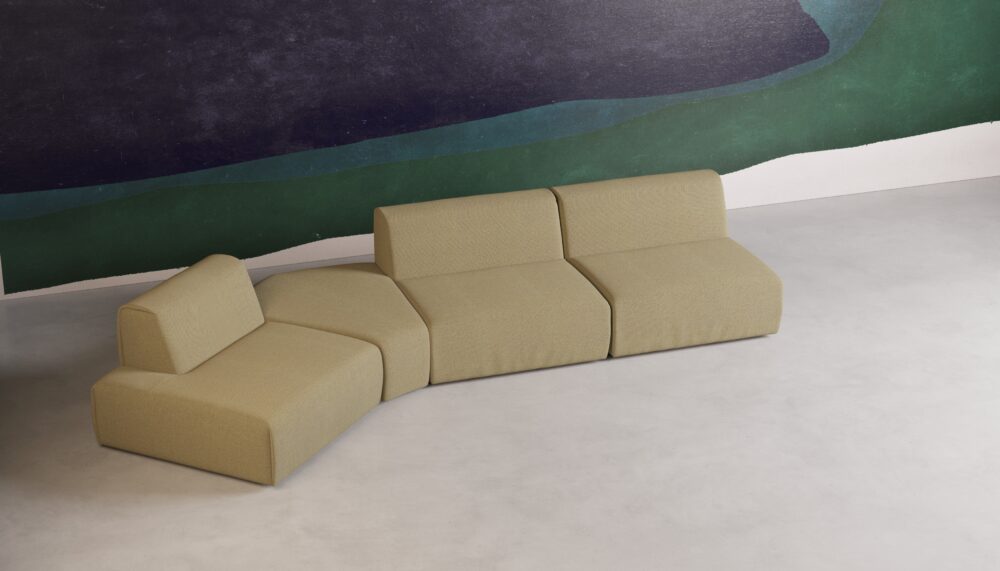
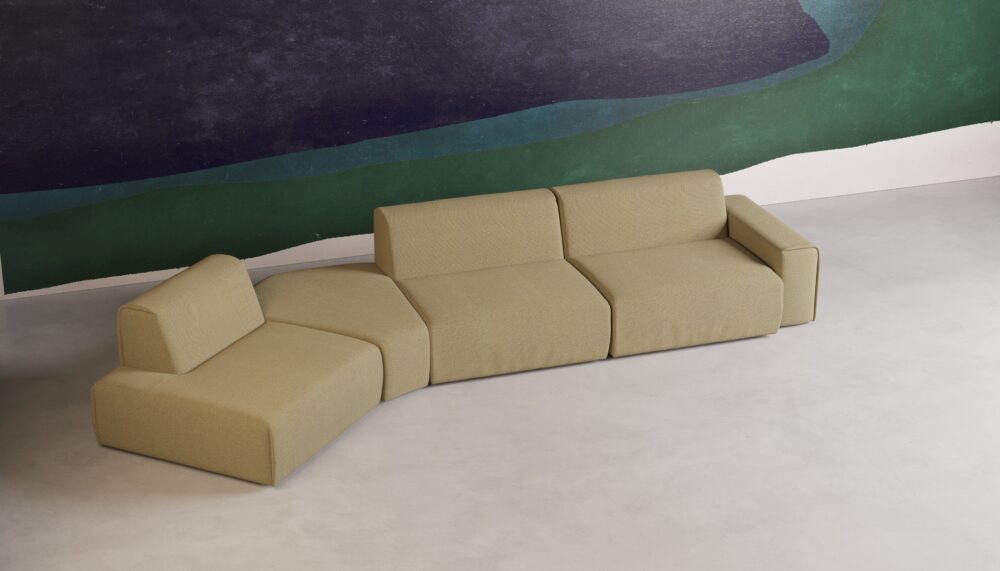
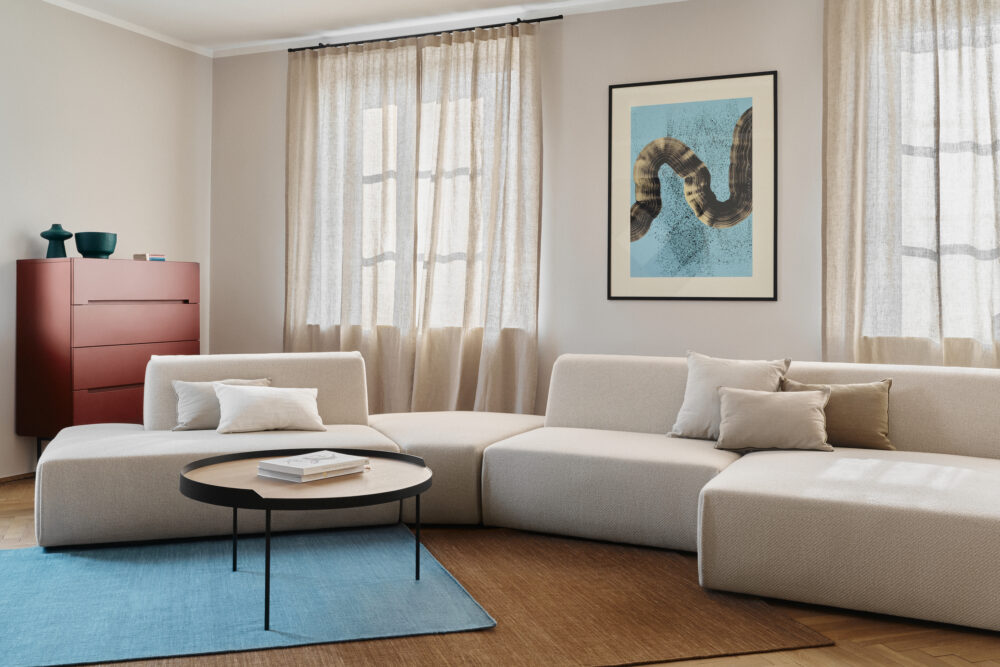
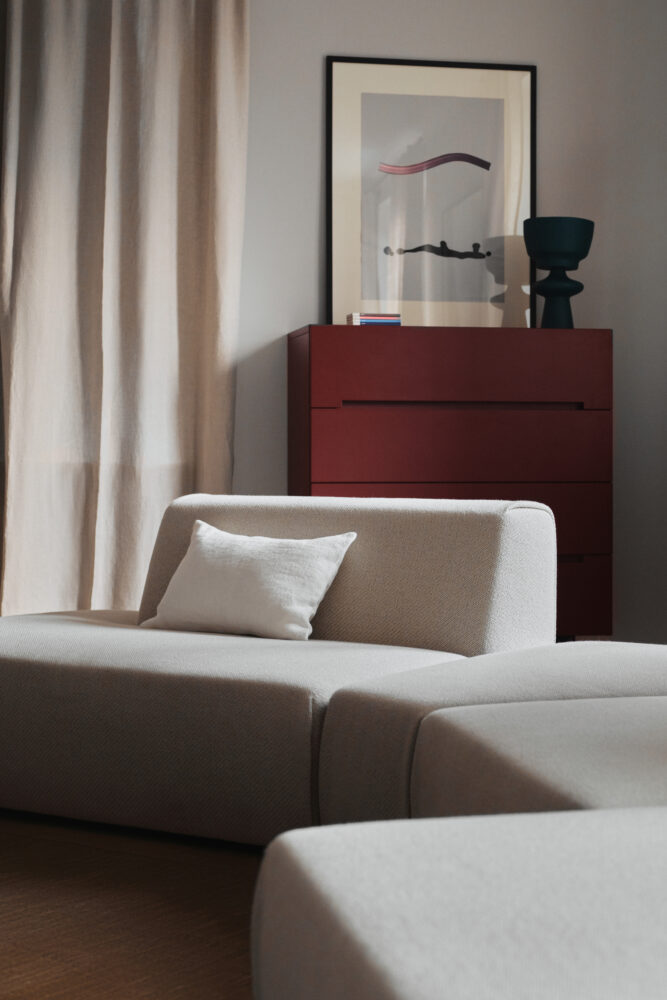
Hug me

Hug me is a modular sofa wrapped in ultimate comfort.
Designed by the Pawlak & Stawarski duo, the collection is based on simple geometric forms of individual modules that can be freely coupled together to create cosy arrangements.
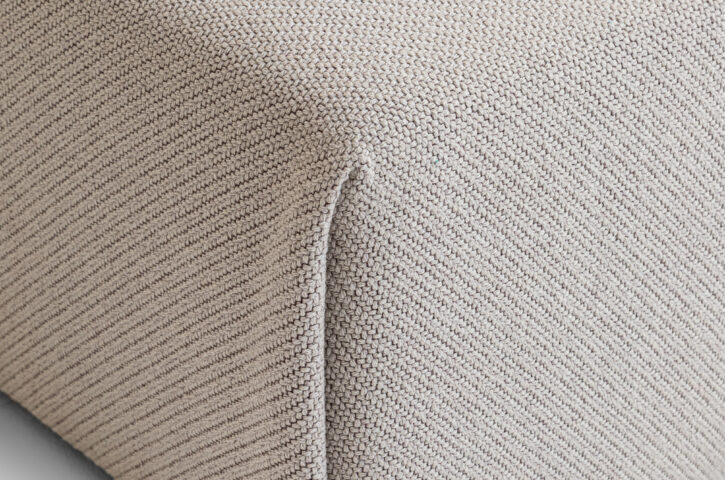
The sofa’s functionality is combined with a warm, homely feel of each piece, owed to the soft lines made by overlapping layers of fabric. Hug Me is a piece to be comfortably enjoyed, boasting a distinct form that is full of informal and casual style.
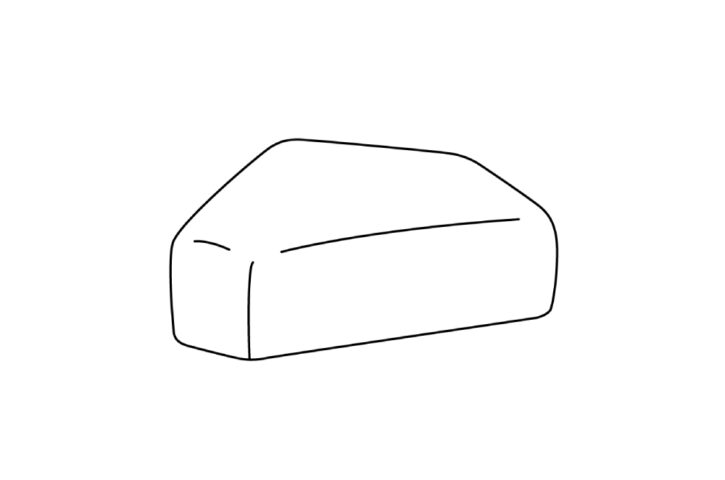
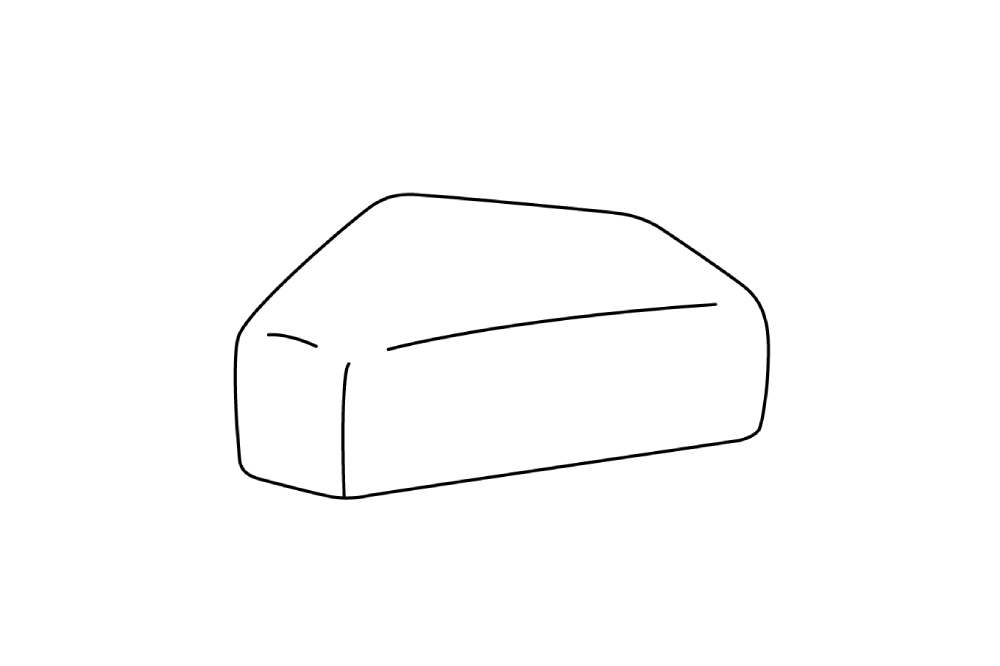
The diverse forms of each module make it possible to adapt the sofa to different needs and spaces. The available selection of seats can be combined to form a classic corner sofa, an asymmetrical sofa, or an usual, geometrically open arrangement.
Hug me is a perfect choice for private, residential spaces, with countless arrangement possibilities and unrivalled comfort in use.


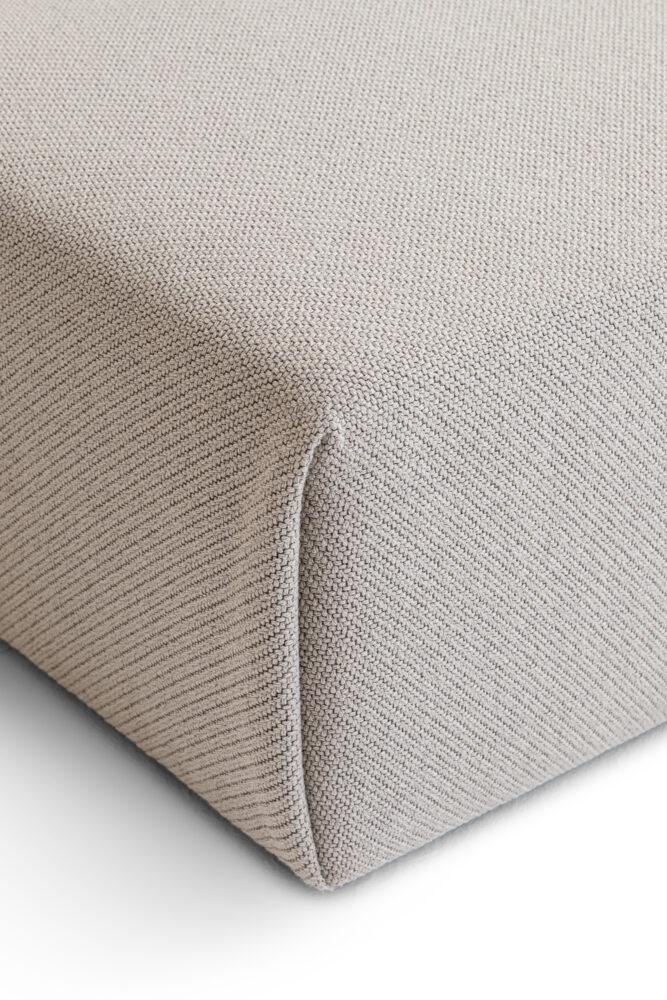
FABRIC: Coda 103


FABRIC: Coda 103
PHOTOGRAPHS: © Tomo Yarmush - third party licensed image, if you wish to use it please contact us.
FABRIC: Coda 103
PHOTOGRAPHS: © Tomo Yarmush - third party licensed image, if you wish to use it please contact us.
FABRIC: Coda 103
PHOTOGRAPHS: © Tomo Yarmush - third party licensed image, if you wish to use it please contact us.

Product visualisation – colours, materials and details may differ from the final product.